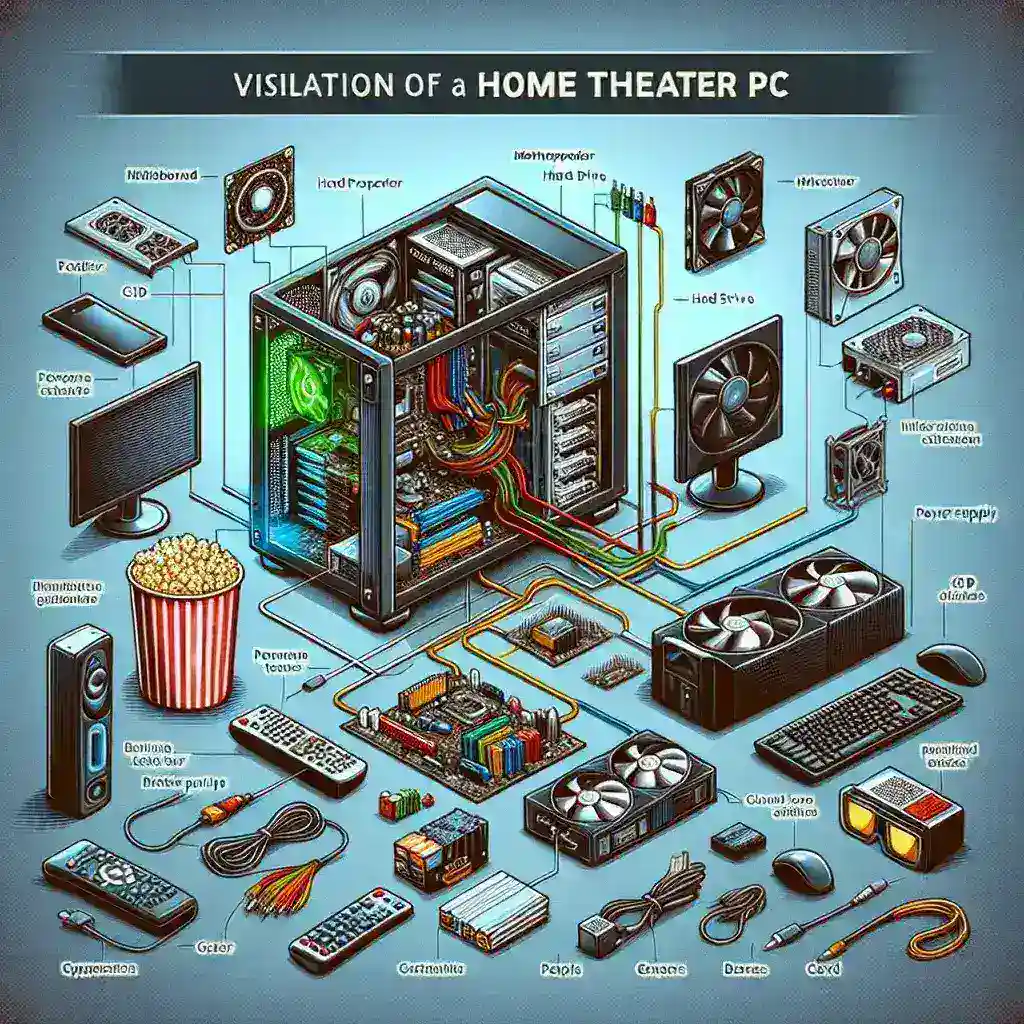
A home theater PC (HTPC) combines the best of both worlds: the flexibility and power of a personal computer with the media-centric focus of home entertainment systems. HTPCs can stream movies, play music, browse the internet, and even handle light gaming. Building your own HTPC can be a rewarding project that tailors exactly to your entertainment needs.
To get started, you’ll need to decide on key components that suit your needs and budget.
| Component | Description |
|---|---|
| Case | Houses all of your hardware components; should fit your living room setup. |
| Motherboard | The primary circuit board; choose one that supports necessary ports and connectivity. |
| CPU | The central processing unit; a mid-range CPU usually suffices for an HTPC. |
| RAM | Random Access Memory; 8GB is typically enough, but more RAM can enhance performance. |
| Storage | Solid State Drives (SSD) for faster boot and load times, or a larger Hard Disk Drive (HDD) for mass storage. |
| Graphics Card | A dedicated GPU isn’t required for every build; integrated graphics can suffice for basic needs. |
| Power Supply Unit (PSU) | Provides power to your components; 300-500W is usually adequate. |
| Cooling | Keeping your system cool is crucial; consider case fans or aftermarket CPU coolers. |
| Optical Drive | Optional; useful if you plan to play Blu-rays or DVDs. |
| Operating System | Windows, Linux, or a home theater-focused OS like LibreELEC. |
Step-by-Step Guide to Building Your HTPC
Now that we have an understanding of the main components, let’s walk through the process of putting everything together.
Choosing the Right Case
Your HTPC case’s form factor is an important consideration. Traditional desktop cases can be too bulky for a living room setup. Instead, consider a small form factor (SFF) or a media center case, which blends in more seamlessly with your entertainment center.
Selecting a Compatible Motherboard
The motherboard is a critical component that determines what other parts you can use. Ensure it has sufficient USB ports, HDMI outputs, and audio connectivity. An ATX or microATX motherboard will offer flexibility and ample ports for various devices.
Installing the CPU
After selecting a compatible motherboard, you need to choose a suitable CPU. For an HTPC, you don’t need extreme processing power. Processors like Intel Core i3 or Ryzen 3 are cost-effective and powerful enough for media tasks. Ensure the CPU is correctly seated and secured with a thermal paste and cooler.
Adding RAM
8GB of RAM is usually sufficient for an HTPC. Insert the RAM sticks into the appropriate slots on the motherboard. Make sure they click into place.
Setting Up Storage
Decide between SSD and HDD based on your needs for speed versus storage capacity. SSDs offer faster performance but less storage space, while HDDs provide more storage but are slower. Installing the drives is straightforward and involves sliding them into bays and securing them with screws.
Securing the Graphics Card
If you opt for a dedicated GPU, make sure it fits in your case and is compatible with your motherboard. Some HTPCs can rely on integrated graphics, especially if your media consumption doesn’t require advanced graphical processing.
Connecting the Power Supply Unit
Your PSU should have enough wattage to power all of your components. Install it into its designated spot in the case, and then connect the necessary power cables to the motherboard, CPU, GPU, and storage devices.
Ensuring Effective Cooling
Heat is a significant concern, especially in compact cases. Ensure you have enough fans to circulate air and possibly an aftermarket CPU cooler to keep temperatures in check.
Installing an Optical Drive
If you plan to play physical media like Blu-rays or DVDs, an optical drive is essential. Install it by sliding it into an available bay and connecting the SATA and power cables.
Choosing the Operating System
Ultimately, the OS will define your HTPC experience: Windows offers compatibility with a wide range of software; Linux is customizable; and specialized OSs like LibreELEC provide streamlined interfaces specifically for media consumption.
Final Setup and Software Installation
Once all hardware is installed, power on your HTPC and enter the BIOS to ensure all components are recognized. Then, proceed to install your chosen OS. After this, configure your media software such as Plex, Kodi, or Emby to manage your media library efficiently.
Remote Control and Interface
For a seamless HTPC experience, consider a wireless keyboard and mouse or a dedicated remote control. Many smart remotes are compatible with HTPC setups and offer enhanced ease of use.
Troubleshooting and Maintenance
Occasionally, issues may arise. Whether it’s connectivity problems, software glitches, or hardware malfunctions, pinpointing the issue is the first step. Regular maintenance, such as ensuring your components are dust-free and updating software, can prolong your HTPC’s lifespan.
Common Issues
- System freezes or crashes: May be due to incompatible drivers or overheating.
- Audio or video playback issues: Check your codec and driver compatibility.
- Slow performance: Consider upgrading your RAM or switching to an SSD.
Building an HTPC is a worthwhile project that will make your home entertainment more dynamic, customizable, and enjoyable. With the right components and a bit of patience, you’ll have a system that meets all your media needs.

