
Audio and video synchronization issues can transform even the most professionally shot footage into an unwatchable mess. Whether you’re dealing with separate audio recordings, drift over time, or technical glitches during production, mastering manual sync techniques is essential for any content creator, filmmaker, or video editor.
Understanding Audio-Video Sync Issues
Before diving into solutions, it’s crucial to understand why sync problems occur. Audio drift happens when audio and video tracks gradually fall out of alignment, often due to different recording frame rates or clock speeds between devices. This phenomenon becomes more noticeable in longer recordings, where a slight discrepancy compounds over time.
Common causes include recording audio separately from video using external microphones, using different devices with varying internal clocks, or technical issues during the recording process. Professional filmmakers often record audio separately for superior quality, making manual synchronization a standard part of post-production workflow.
Essential Tools for Manual Audio-Video Synchronization
Successful manual sync requires the right software tools. Popular video editing applications like Adobe Premiere Pro, Final Cut Pro, DaVinci Resolve, and Avid Media Composer offer robust sync capabilities. Free alternatives include OpenShot, Shotcut, and Blender’s video editor.
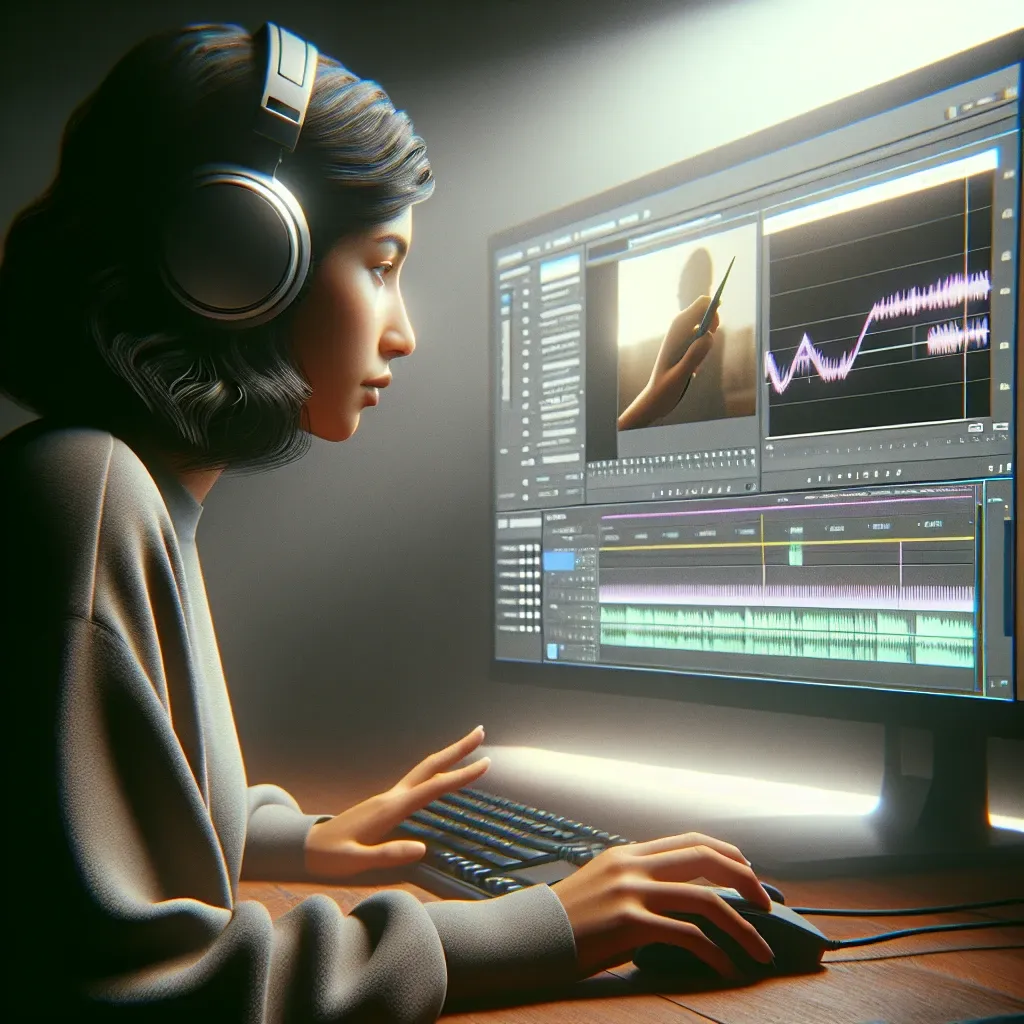
Each platform provides timeline-based editing where you can visually align audio waveforms with video tracks. The key is choosing software that displays clear waveform visualizations and offers precise frame-by-frame editing capabilities.
The Clapperboard Method: Traditional Yet Effective
The classic clapperboard technique remains one of the most reliable manual sync methods. During filming, record a sharp clap or use an actual clapperboard at the beginning of each take. This creates a distinct visual and audio spike that serves as a synchronization point.
In post-production, locate the frame where the clapperboard closes and align it with the corresponding audio spike in your waveform. This method provides a precise reference point that eliminates guesswork from the synchronization process.
Step-by-Step Clapperboard Sync Process
- Import both video and audio files into your editing software
- Place them on separate tracks in the timeline
- Locate the visual clap in the video track
- Find the corresponding audio spike in the waveform
- Align these two points precisely
- Lock the tracks to prevent accidental movement
Waveform Analysis: The Visual Approach
When clapperboards aren’t available, waveform analysis becomes invaluable. This technique involves matching the visual representation of audio recorded by the camera with the high-quality external audio track.
Most cameras record reference audio even when using external microphones. By comparing the waveforms of both audio sources, you can identify matching patterns and align them accordingly. Look for distinctive peaks, valleys, or speech patterns that appear in both tracks.
Advanced Manual Sync Techniques
For challenging situations, consider these advanced approaches:
Drift Correction
When dealing with gradual drift throughout a long recording, manual correction becomes more complex. Start by syncing the beginning of the clips, then check sync at regular intervals throughout the timeline. If drift is detected, create multiple sync points and stretch or compress the audio track slightly to maintain alignment.
Multiple Camera Angles
Multi-camera productions require syncing audio to multiple video sources. Establish a master audio track and sync all video angles to this reference. This ensures consistency across all camera angles and simplifies the editing process.
Frame Rate Considerations
Understanding frame rates is crucial for successful manual sync. Mismatched frame rates between audio and video sources can cause synchronization to drift over time. Common frame rates include 24fps for cinema, 30fps for television, and various rates for web content.
When working with different frame rates, convert all media to a common rate before beginning the sync process. This prevents accumulated timing errors that become increasingly noticeable in longer sequences.
Professional Tips for Consistent Results
Work with high-quality monitoring equipment to accurately assess sync quality. Professional monitors and speakers reveal subtle timing discrepancies that might be missed on consumer equipment.
Establish a consistent workflow for your projects. Create templates in your editing software with pre-configured tracks and settings for audio-video sync work. This standardization reduces errors and improves efficiency.
Always create backup copies of your original media before beginning sync work. Manual synchronization involves moving and adjusting tracks, and having pristine originals ensures you can start over if needed.
Troubleshooting Common Sync Problems
When sync appears correct at the beginning but drifts later, the issue likely stems from frame rate mismatches or variable recording speeds. Address this by checking the technical specifications of all source materials and ensuring they match your project settings.
If sync seems impossible to achieve, verify that you’re working with the correct audio and video files. It’s surprisingly easy to accidentally pair audio from one take with video from another, especially in complex multi-take productions.
Quality Control and Verification
After completing manual sync, perform thorough quality control checks. Play through the entire timeline, paying special attention to dialogue scenes where sync issues are most noticeable. Watch for lip-sync accuracy and ensure that sound effects align properly with their visual counterparts.
Export a test version and review it on different devices to ensure sync quality translates across various playback systems. What appears synchronized on your editing workstation might reveal issues when viewed on different hardware.
Future-Proofing Your Sync Workflow
As technology evolves, manual sync techniques remain valuable skills. While automatic sync tools continue improving, understanding manual methods provides greater control and reliability, especially for challenging or unique situations.
Consider developing your own sync templates and presets that streamline the manual process. Document your preferred techniques and settings to maintain consistency across projects and team members.
Manual audio-video synchronization requires patience, attention to detail, and practice to master. By understanding the underlying principles, utilizing appropriate tools, and following systematic approaches, you can achieve professional-quality sync results that enhance the overall impact of your video content. Whether working on independent films, corporate videos, or personal projects, these manual sync skills will serve as a foundation for producing polished, professional content that keeps audiences engaged from start to finish.